SAMSARA CHAPTER DLC — HIDDEN BOSS COMPENDIUM
Black Myth Wukong DLC Hidden Bosses Guide 2026: Beat Wuxiang Mile, Crimson Demon Lord & Nezha
Game Science's Samsara Chapter DLC has arrived, and with it comes a gauntlet of hidden bosses so punishing that only 11.5% of players managed to defeat the final secret encounter during the launch month. The true-ending path demands mastery of three formidable hidden bosses—Wuxiang Mile, the Crimson Demon Lord, and Nezha—each guarding critical progression gates. This guide breaks down every phase, weakness, and build recommendation to carry you through.
Before you begin: to unlock the true-ending path, you must collect all six Samsara Fragments scattered across the DLC zones and use the Void Mirror artifact at the "All Karma Is Void" Buddha statue in the final chapter. This opens the portal to the Chaos Void where Wuxiang Mile awaits.
Guide Visuals — Black Myth Wukong DLC Hidden Bosses
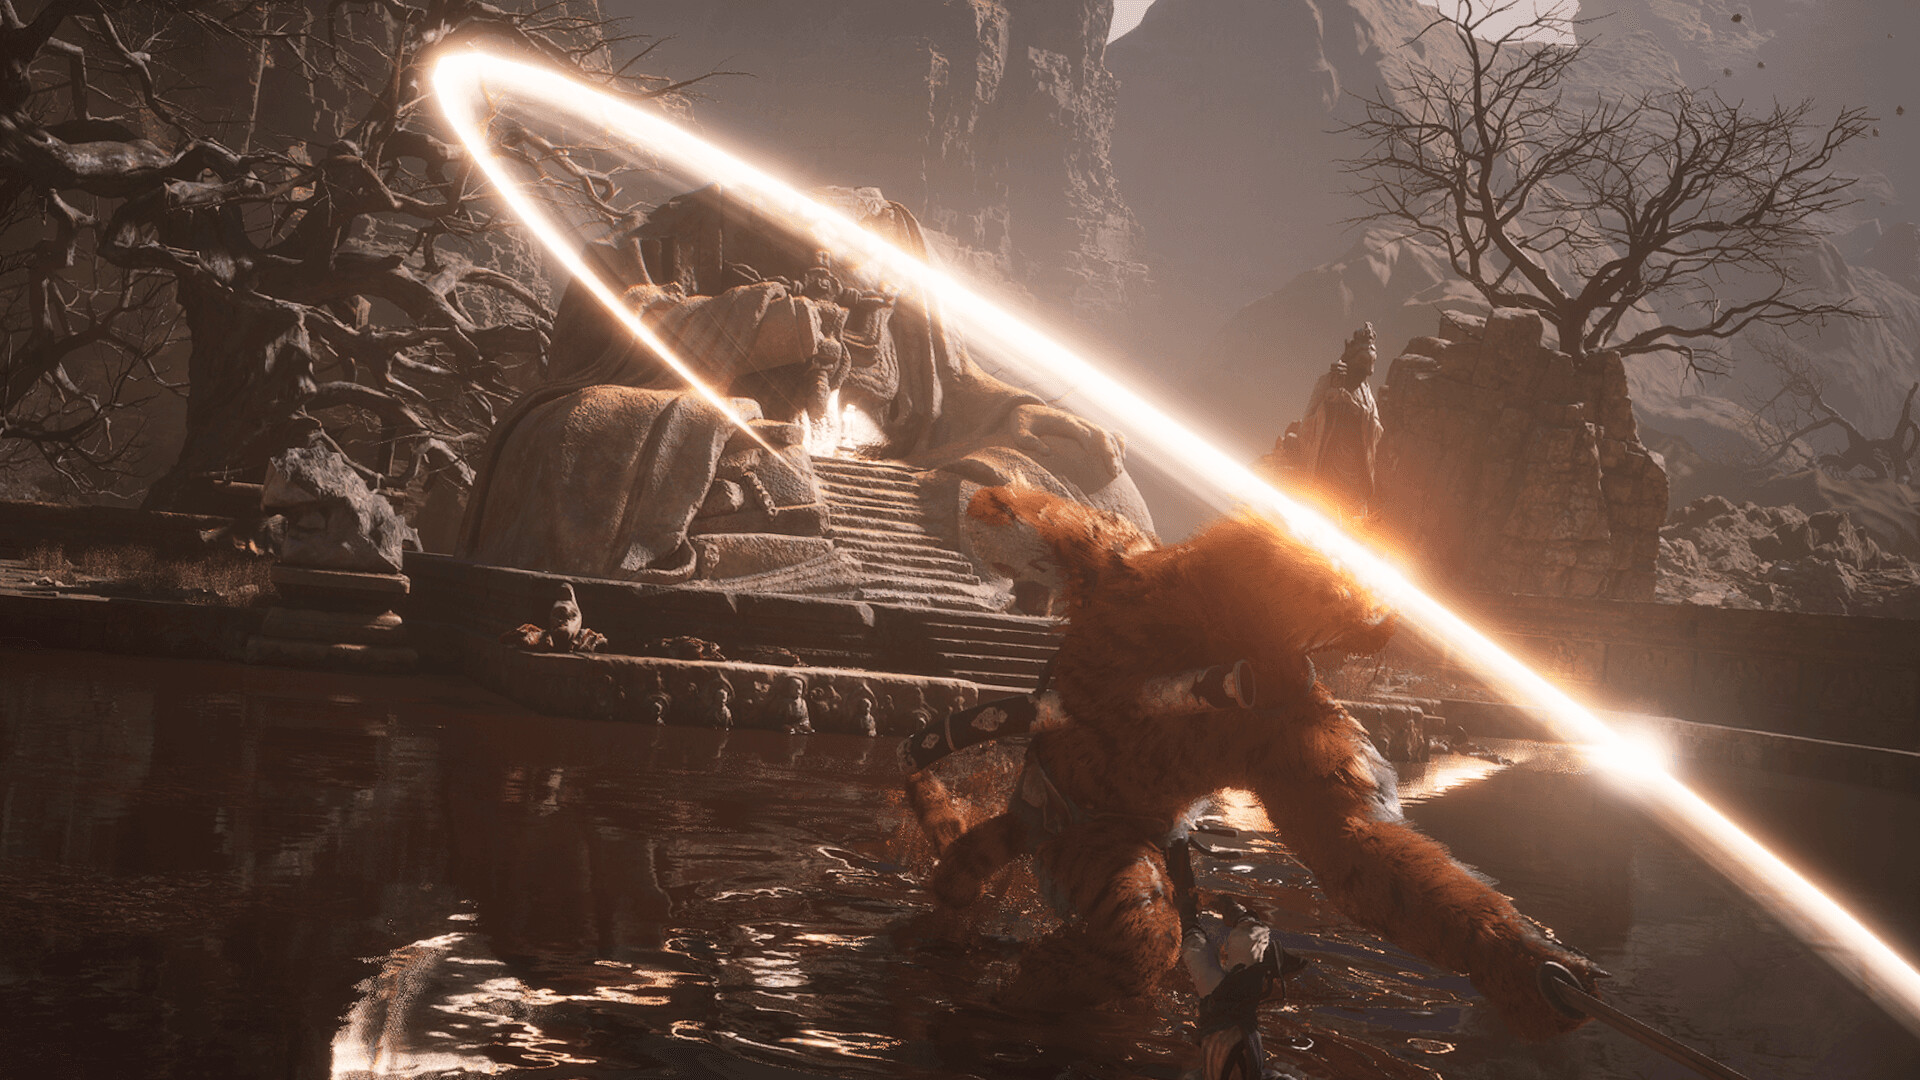
Wuxiang Mile's Chaos Void arena — the final hidden boss of the Samsara Chapter DLC with three punishing phases.
Source: Steam / Game Science
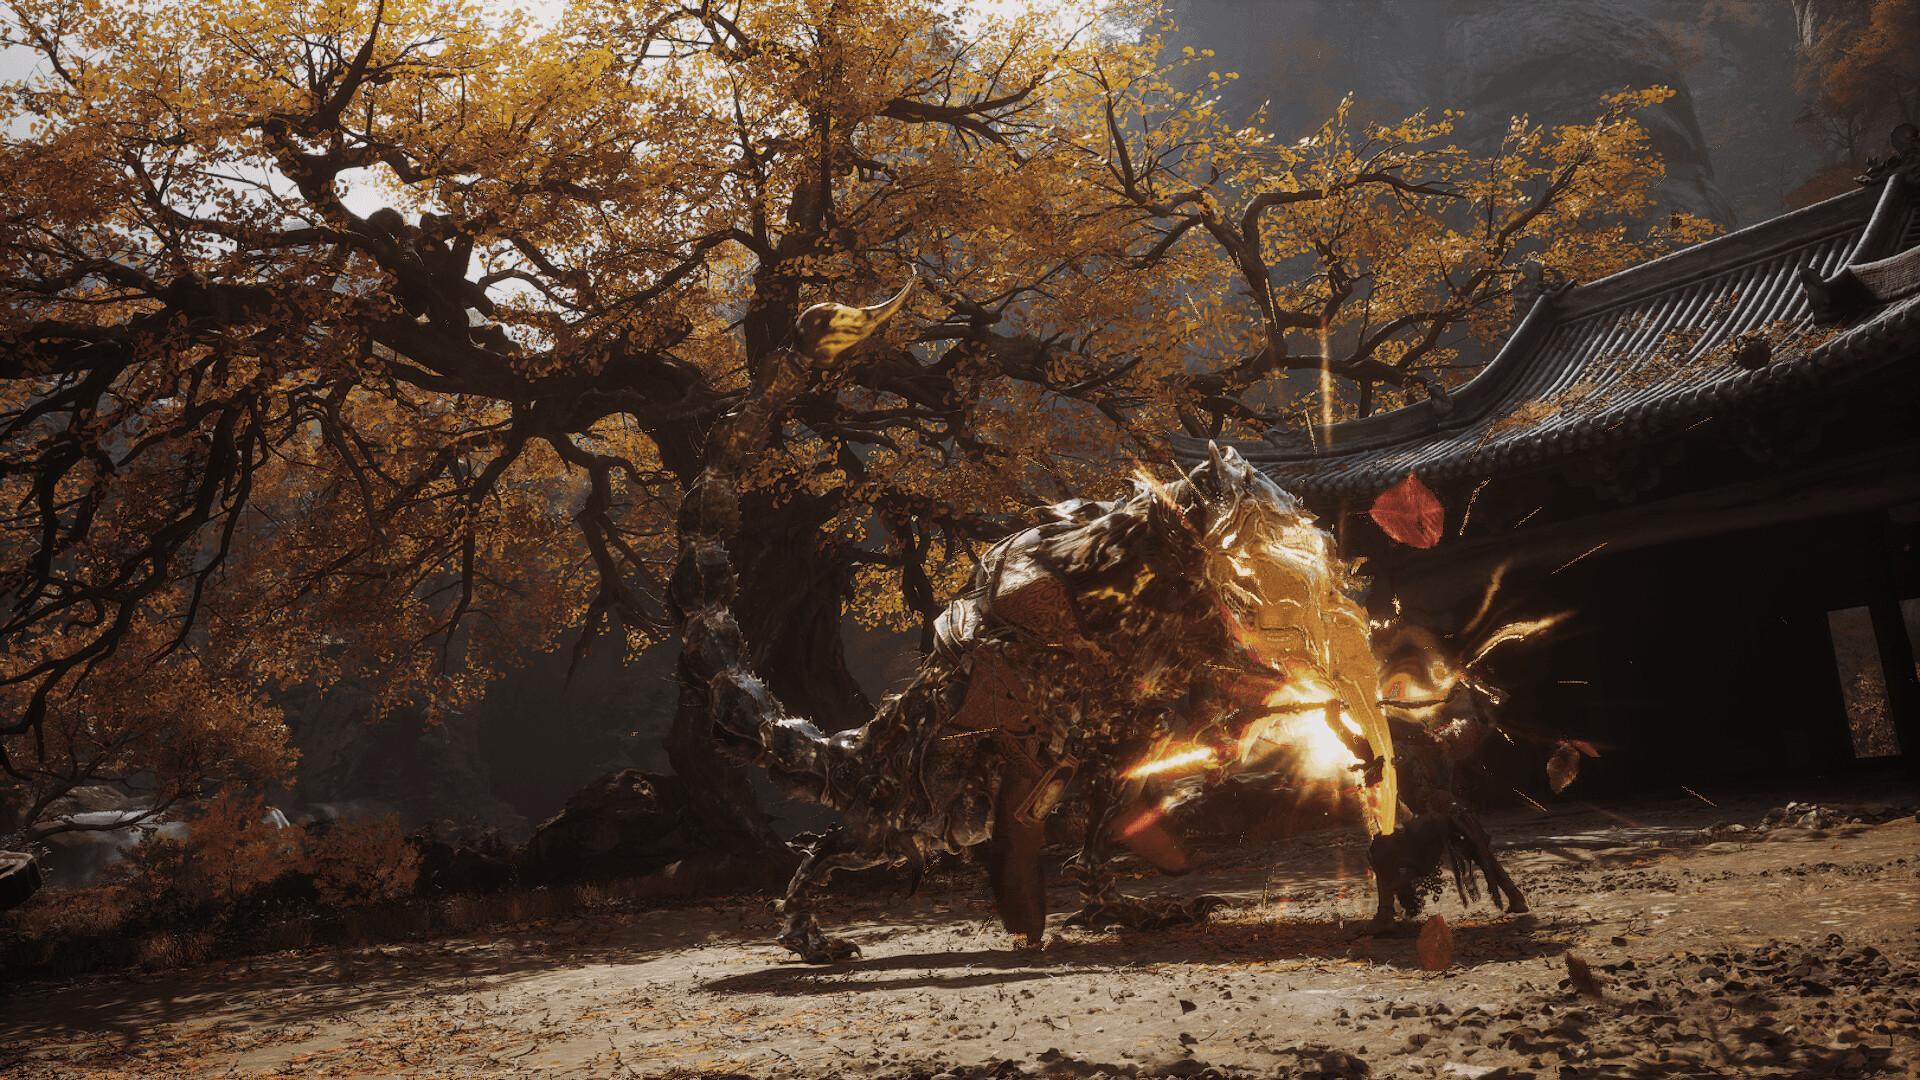
Recommended loadout: Great Sage six-piece armor set for heavy smash damage bonus, paired with Tiger Vanguard spirit for aggro control.
Source: Steam / Game Science
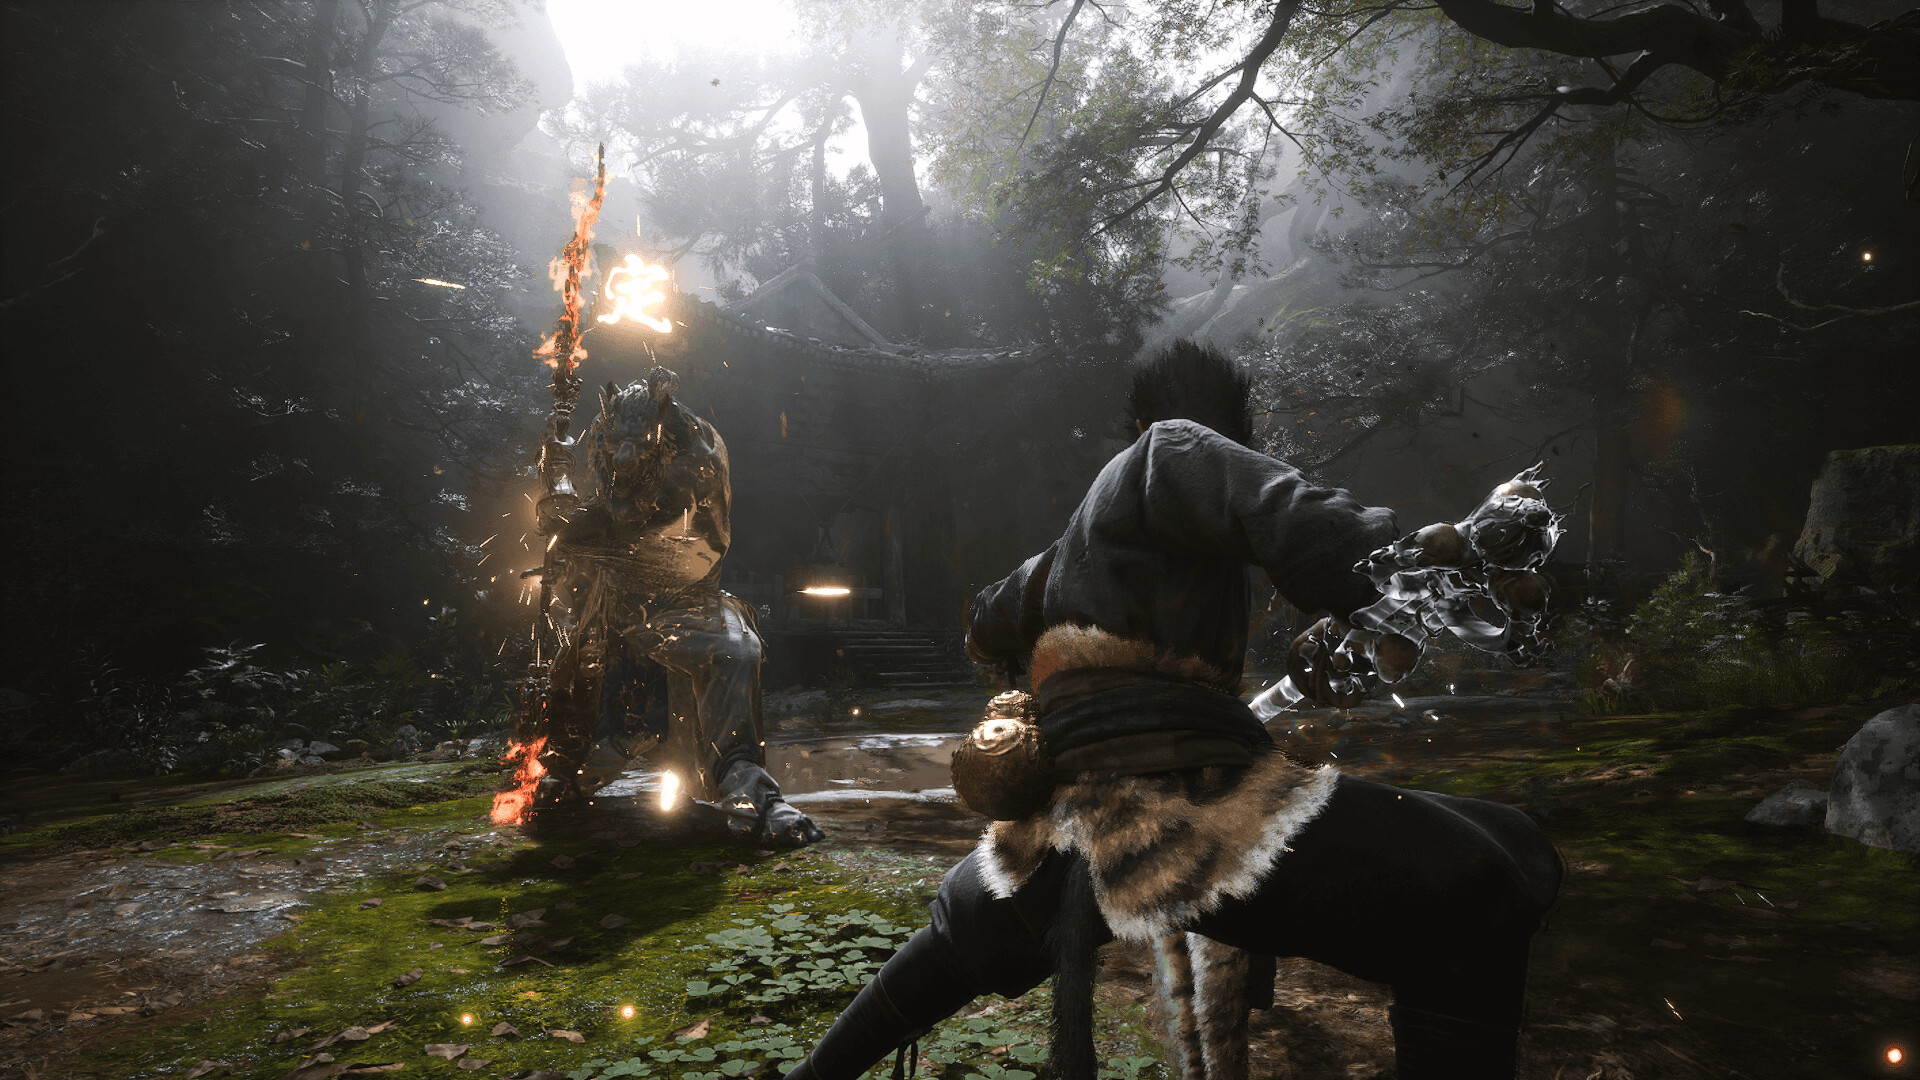
Crimson Demon Lord found in the Nether Swamp zone — uses Immobilize on dead trees to reveal the hidden teleport gate.
Source: Steam / Game Science
Recommended Build: Gear, Spirits & Skills
Three hidden bosses demand a build centered on See-Through (识破) mechanics and high mobility. Traditional tank builds crumble under their relentless AoE pressure. Here is the optimal setup:
| Slot | Recommendation | Key Benefit |
|---|---|---|
| Armor Set | Great Sage Set (6-piece) | Massively increases charged heavy smash damage — the core DPS engine for all three bosses |
| Spirit (精魄) | Tiger Vanguard (寅虎) | High aggro pull; 28% higher clear rate vs hidden bosses per community data. Summon attack draws boss attention, creating windows for healing and stance resets |
| Gourd | Chrysanthemum Gourd (重阳紫菊) | Boosts post-See-Through damage burst; pairs with Nine-Turn Revival Pills for error margin |
| Key Artifact | Heart-Shatter Nail (碎心钉) | 30% bonus armor-breaking damage against all Illusory-type bosses — essential for speedrunning the DLC |
| Spirit Skill | Eye of Chaos (混沌之眼) | Active "Void Gaze" grants 3 seconds of invincibility during boss phase transitions and interrupts charge-up attacks |
| Spells | Immobilize + Cloud Step + Rock Solid | Extended Immobilize via Cloud Step synergy; Rock Solid's roll i-frame is critical for fast combo strings |
Hidden Boss #1: Wuxiang Mile (无相弥勒) — Three-Phase Nightmare
Wuxiang Mile is the gatekeeper to the true ending. Defeating this boss requires adapting to three radically different combat modes. Each phase tests a distinct skill set: timing, positioning, and burst damage.
PHASE 1 Mortal Flesh — Physical Frenzy
HP Range: 100% – 70% | Threat: Rapid combos with short telegraphs
Wuxiang Mile fights in human form with blistering melee chains. The core threat is the Arhat Fist (罗汉拳) three-hit combo: the third strike is a red-glint attack that must be countered with Rock Solid (铜头铁臂) for a perfect See-Through. Failing the counter results in a stun-lock and massive damage.
- Maintain mid-range to bait the Arhat Fist sequence
- The moment both fists clasp and emit golden light, cast Immobilize — this is the optimal stagger window
- Follow immobilization with a full charged heavy smash combo to break the first health bar quickly
- Never greed for extra hits after the red-glint wind-up; the punish window is extremely tight
PHASE 2 Dharma Manifestation — Magic Bombardment
HP Range: 70% – 30% | Threat: Full-screen AoE shockwaves
At 70% HP, Wuxiang Mile grows to colossal size. A giant golden bell shockwave covers the entire arena during the transition — you must use Cloud Step (聚形散气) to leap above it or face instant death. Key attacks include Lotus Descent (tracking floor explosions) and Golden Light Pervasion (360-degree beam sweep).
- Exploit Cloud Step's extended i-frames to dodge the initial transition blast
- Stay mobile — the Lotus Descent explosions track your last position; keep strafing
- When Golden Light Pervasion begins, sprint to the arena edge and time your dodge through the beam
- Punish during the 4-second recovery after each major AoE attack with light combos to build focus
PHASE 3 Void Manifestation — Chaos Incarnate
HP Range: 30% – 0% | Threat: Uninterruptible charge attacks
In the final phase, Wuxiang Mile enters a chaotic energy form. It periodically channels a devastating charge-up attack with no visible interrupt window — but the Eye of Chaos (混沌之眼) spirit skill is the exception. Activating "Void Gaze" during the charge wind-up stuns the boss for 3 seconds and cancels the attack entirely. Without this spirit equipped, this phase is borderline impossible to clear hitless.
- Conserve Eye of Chaos charges exclusively for the charge-up interrupt
- After the stun lands, unleash your heaviest combo — Chrysanthemum Gourd buff + charged heavy smash
- Watch for the desperation pattern under 10% HP: rapid teleport strikes that require perfect dodge timing
Hidden Boss #2: Crimson Demon Lord (赤炎魔君) — Nether Swamp Gatekeeper
Found in the Nether Swamp (幽冥沼泽) zone in the far southeast, the Crimson Demon Lord is hidden behind an environmental puzzle that many players miss. This boss boasts extreme fire resistance, rendering fire-based spells and transformations nearly useless.
How to Access the Crimson Demon Lord
The Nether Swamp features complex environmental interactivity. To open the teleport gate to the boss arena, you must cast Immobilize (定身术) on specific dead trees marked by dark-purple glowing flora. These trees are scattered across three locations in the swamp. Once all three are immobilized, a hidden portal activates in the zone center.
While exploring, pay close attention to anomalous purple plant clusters — they mark hidden treasure chests and trigger points. Equip Night Pearl or upgrade your Night Vision talent to navigate the low-light cave sections safely, as shadow ambushers lurk in the darkness.
Combat Strategy
Element: Fire (extreme resistance) | Weakness: High stagger from Smash Stance
The boss spams wide-area fire pillars. Conventional damage routes fail because of its near-immunity to fire. The winning approach is Smash Stance (劈棍势) for high poise-breaking strikes:
- Use Smash Stance exclusively — Pillar and Thrust stances lack the stagger potential needed here
- Watch the boss's arm raise animation — this is the trigger moment for See-Through counters
- Counter successfully to accumulate massive focus, then unleash charged heavy smashes
- Avoid standing in lingering fire zones; the DoT stacks rapidly and ignores defense
Hidden Boss #3: Nezha (哪吒) — Wind Tamer's Bane
Nezha appears as the final hidden encounter before the true ending path convergence. This celestial warrior fights with devastating speed and multi-hit spear combos that punish passive play. However, Nezha carries a specific vulnerability that transforms the fight from a war of attrition into a manageable duel.
Weakness: Wind Tamer Spirit (定风珠)
Nezha's Wind Fire Wheels grant him hyper-armor during his spear dance sequences. The Wind Tamer (定风珠) vessel spirit skill directly counters this — activating it strips Nezha of his wind aura for 8 seconds, removing his hyper-armor and applying a 15% damage vulnerability debuff. Cycle this with Immobilize to create alternating damage windows.
- Open with Wind Tamer to strip the wind aura immediately
- During the 8-second vulnerability window, apply Immobilize and execute a full combo
- When Wind Tamer is on cooldown, play defensively — dodge sideways through spear thrusts
- Repeat the Wind Tamer → Immobilize cycle; Nezha falls in roughly three rotations with proper gear
Speedrun Optimization: Sub-6-Hour Full DLC Clear
For players focused on speed rather than completionism, a 2026 player survey showed 82% of DLC participants prioritized fast story unlocks over full exploration. Here is the optimized route:
| Priority | Action | Time Saved |
|---|---|---|
| 1 | Skip all non-mandatory villager side quests and collection tasks. Stick to main story path only. | ~2 hours |
| 2 | At Fangcun Mountain, grab Heart-Shatter Nail from the broken wall chest before following the quest marker. | Multiplies boss DPS by 30% |
| 3 | In Spider Silk Ridge, take the dead-tree tunnel shortcut on the right side to bypass all trash mobs and go directly to the Illusory Erlang Shen boss room. | ~30 minutes |
| 4 | Ignore 90% of overworld enemies — follow the persistent purple-glowing main path direction. Purple glow indicates the story-critical route. | ~1.5 hours |
| 5 | Talent priority: Focus charge speed → No focus loss on hit → Damage reduction → Attack bonus (last). | Smoother boss fights |
Equipment Synergy Summary
The three hidden bosses share a common thread: they punish passive, defensive playstyles and reward aggressive See-Through execution. The Great Sage six-piece set's charged heavy bonus synergizes perfectly with the Tiger Vanguard spirit's aggro-redirect windows, creating a rhythm of bait → counter → punish that works across all three encounters.
| Boss | Core Strategy | Key Tool | Estimated Attempts |
|---|---|---|---|
| Wuxiang Mile | Phase-specific adaptation; See-Through + Cloud Step | Eye of Chaos spirit | 15–30 |
| Crimson Demon Lord | Smash Stance stagger loop | Immobilize on dead trees | 8–15 |
| Nezha | Wind Tamer cycle management | Wind Tamer vessel | 10–20 |
"The mountain sharpens the warrior. The Void consumes the unprepared." — Inscription at the Chaos Void gate